-

ProtonBridge Headless Mode
Proton Mail is a great web email service. If you’ve landed here, you probably already agree with that. However, one major missing feature is SMTP/IMAP access to your mailboxes. They offer a “local” bridge application which will communicate with their backend and then provide a local SMTP/IMAP service listening on some seemingly arbitrary ports.
Challenges
So there are a few challenges here that we’ve got to overcome:
- Application by default requires a GUI to login, run as a service, etc.
- Application listens only on localhost (
127.0.0.1) - And only on non-standard ports
Prerequisites
So first, lets install some prerequisites.
passgnupg- Clone the
proton-bridgerepository - Available at https://github.com/ProtonMail/proton-bridge
Next, lets figure out how to start the thing on a server without a desktop environment.
First, you’ll want to setup a passphrase-free GPG key.
$ gpg --batch --passphrase '' --quick-gen-key 'ProtonMail Bridge' default default neverThis will generate a new key with the name
ProtonMail Bridgein your local keyring.Then we’ll need to setup a new password database in
pass.$ pass init "ProtonMail Bridge"Now we’ve got all of the prerequisite steps out of the way!
Proton-Bridge package
Finally, we can begin installing the actual ProtonMail
proton-bridgepackage. The problem is, the*.deb(or other format) package that they provide on their download page requires a ton of graphical dependencies that we don’t want to install on our server. Fortunately they have amaketarget calledbuild-noguisetup in their Makefile in the repository. Before we begin compiling it with this special target, there is one change we must make in the source-code.0.0.0.0HostCurrently, the bridge is designed as a local application to run on your desktop machine to enable you to use Thunderbird/Outlook with ProtonMail. However, when running on a server, we often want to connect to it from the outside. So we’ve got to make a small change in the
internal/bridge/constants.gofile.Change line
22fromHost = '127.0.0.1'toHost = '0.0.0.0'.Note: There is an open PR to make this user configurable, but it’s been open for a few months without much action. Source: https://github.com/ProtonMail/proton-bridge/pull/270
That’s all thats required to change where it listens!
build-noguiCompilationcdto where you’ve cloned the proton-bridge repository if you’re not still there. Now we can runmake build-nogui. This should compile the simple go binaryproton-bridgewithout all of the GUIqt-*libraries and the like.We should now have a compiled
proton-bridgebinary in the root of the repository which does not require a GUI to setup!Authentication
Finally, we can begin authenticating and getting this thing up and running.
Execute the binary with the
--cliflag to enter into an interactive CLI mode.$ proton-bridge --cliHere use the
logincommand to begin the login procedure. This will ask you for your normal web-based ProtonMail username/password and potentially 2FA code.After logging in successfully, you can type
infoin the interactive shell and it should print out a small table of information like the current host/port/username/password required to connect to both SMTP and IMAP.We’re so close!
Finally, we can set this proton-bridge to run as a service with a small custom systemd unit file.
$ sudo vim /etc/systemd/system/proton-bridge.serviceAnd enter something like the following:
title
    [Unit]
Description=ProtonMail Bridge
After=network.target

[Service]
User=ndo
ExecStart=/usr/local/bin/proton-bridge --noninteractive
StandardOutput=append:/var/log/proton-bridge/stdout.log
StandardError=append:/var/log/proton-bridge/stderr.log

[Install]
WantedBy=multi-user.target
Remember to adjust the
ExecStartpath to the binary. In my case, I’ve symlinked the binary from its compilation source folder to/usr/local/bin/proton-bridge. Also notice the--noninteractiveflag we’re passing here.After saving and closing that file, enable and start the systemd service.
$ sudo systemctl enable proton-bridge
$ sudo systemctl start proton-bridge
This should start the
proton-bridgeservice now and enable it to auto-start on reboot.You can check the current status by executing
sudo systemctl status proton-bridgeand as the service file indicated, the logs are located at/var/log/proton-bridge/*.Ports
Finally, after starting that service we have the IMAP and SMTP bridge running as a daemon on our server! However, it’s still using the odd arbitrary ports. This may be fine if your client application allows you to manually input any number in the port field. However, some services only allow you to select from a dropdown of a preselected few IMAP ports, for example.
For cases like these, we can use
iptablesto our advantage!These commands will forward:
143->114325->1025
$ iptables -t nat -A PREROUTING -i vmbr0 -p tcp --dport 143 -j DNAT --to-destination 10.0.1.52:1143 # imap
$ iptables -t nat -A PREROUTING -i vmbr0 -p tcp --dport 25 -j DNAT --to-destination 10.0.1.52:1025 # smtp
You can see in my case, I’m using a Proxmox host (with an incoming connection on interface
vmbr0) that also needed to forward that port to a guest located at10.0.1.52, for example. Don’t forget to change that internal IP to wherever yourproton-bridgeservice is running, or if its on the same machine just set it to127.0.0.1or0.0.0.0. Also you’re probably going to need to change the name of the interface and potentially the port numbers, depending on what theproton-bridgeinteractiveinfocommand told you earlier.Summary
So with a bit of tweaking we were able to use the pre-existing local bridge GUI application, to run a headless server daemon to allow us to connect via SMTP / IMAP from any client to our awesome ProtonMail inboxes!
-

Windows 11 on Proxmox
-

Link Screenshot Previews
-

Tailwind Read Progress Bar
-
Github Codespaces
-
libvirt qemu VMs
-

Plex Setup
-
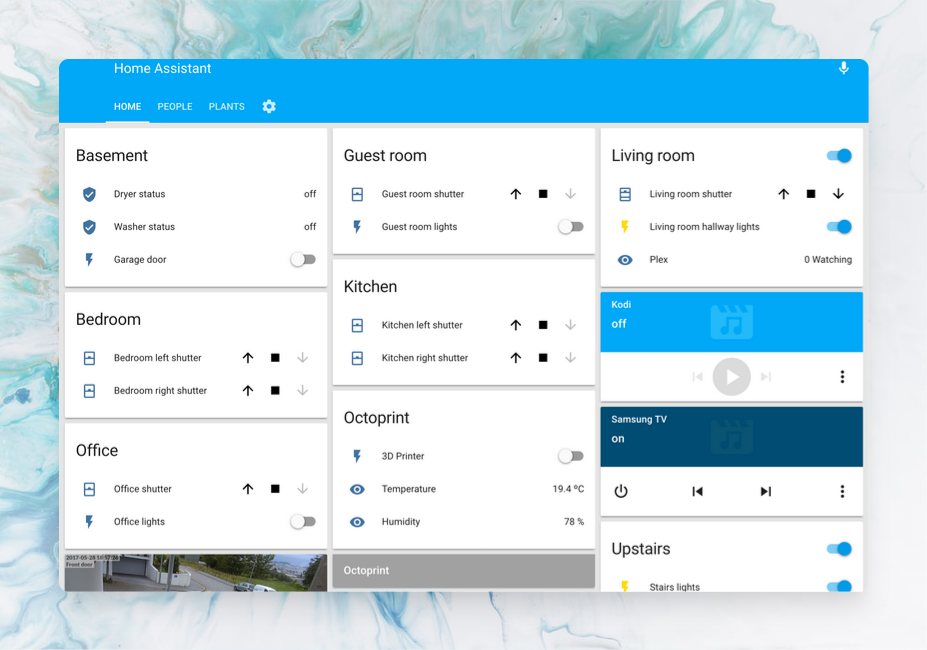
HomeAssistant RaspberryPi 4
-

Installing Overwatch on Arch Linux
-

My journey to serverless and back
-

Docker + Localhost MySQL
-
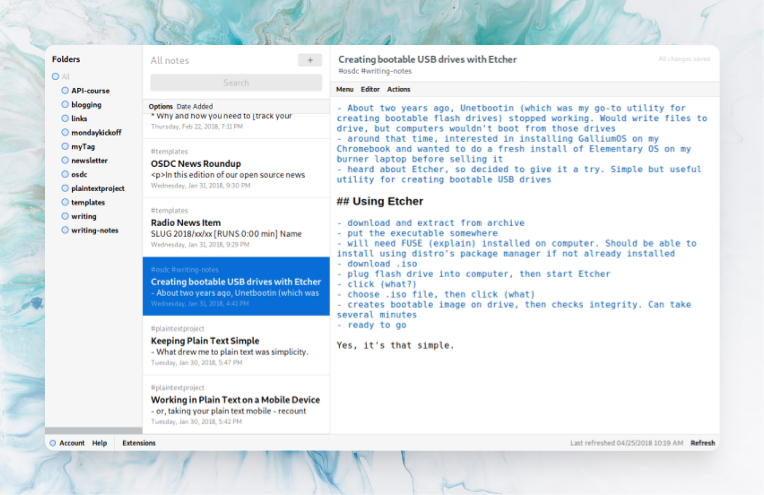
Standard Notes Selfhosted Installation
-

Google Calendar API Sucks
-
My own DNS-over-HTTPS Server
-
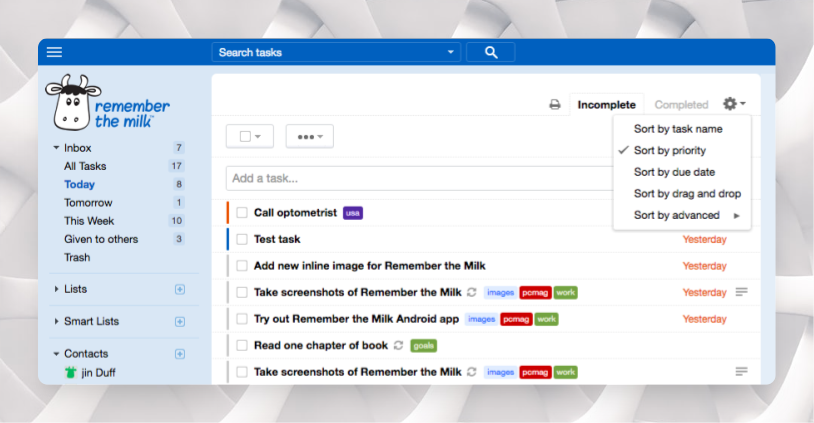
Remember the Milk Syntax
-

MagicMirror
-
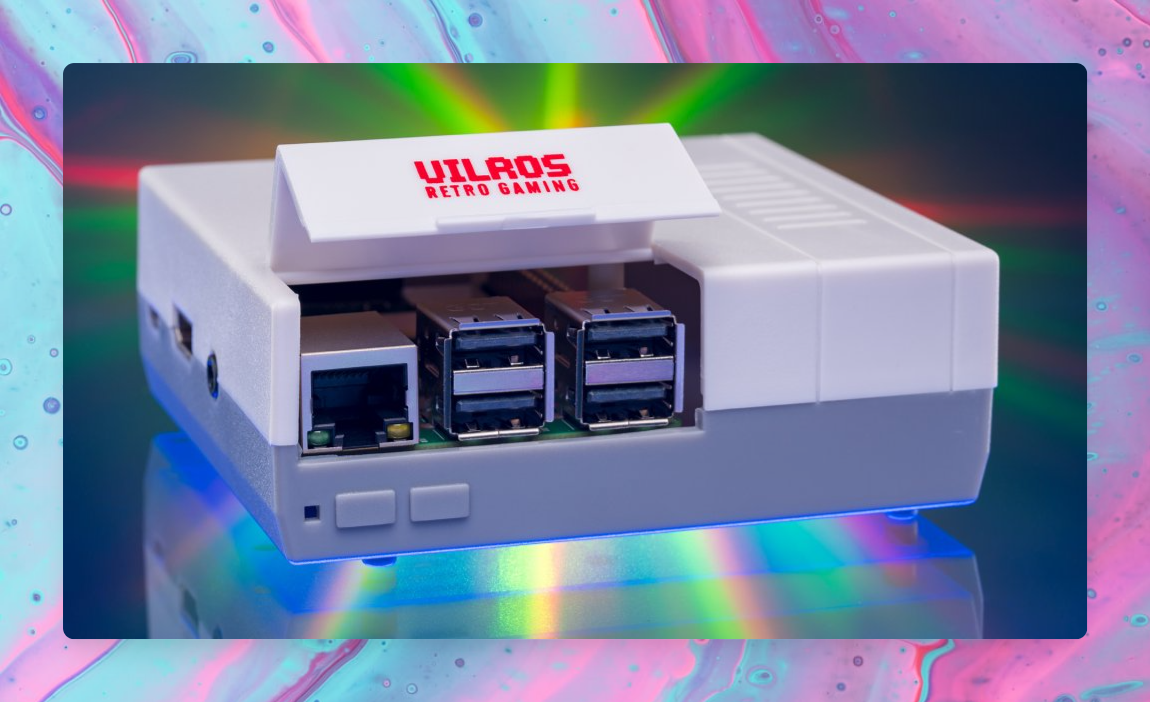
Retropie
-
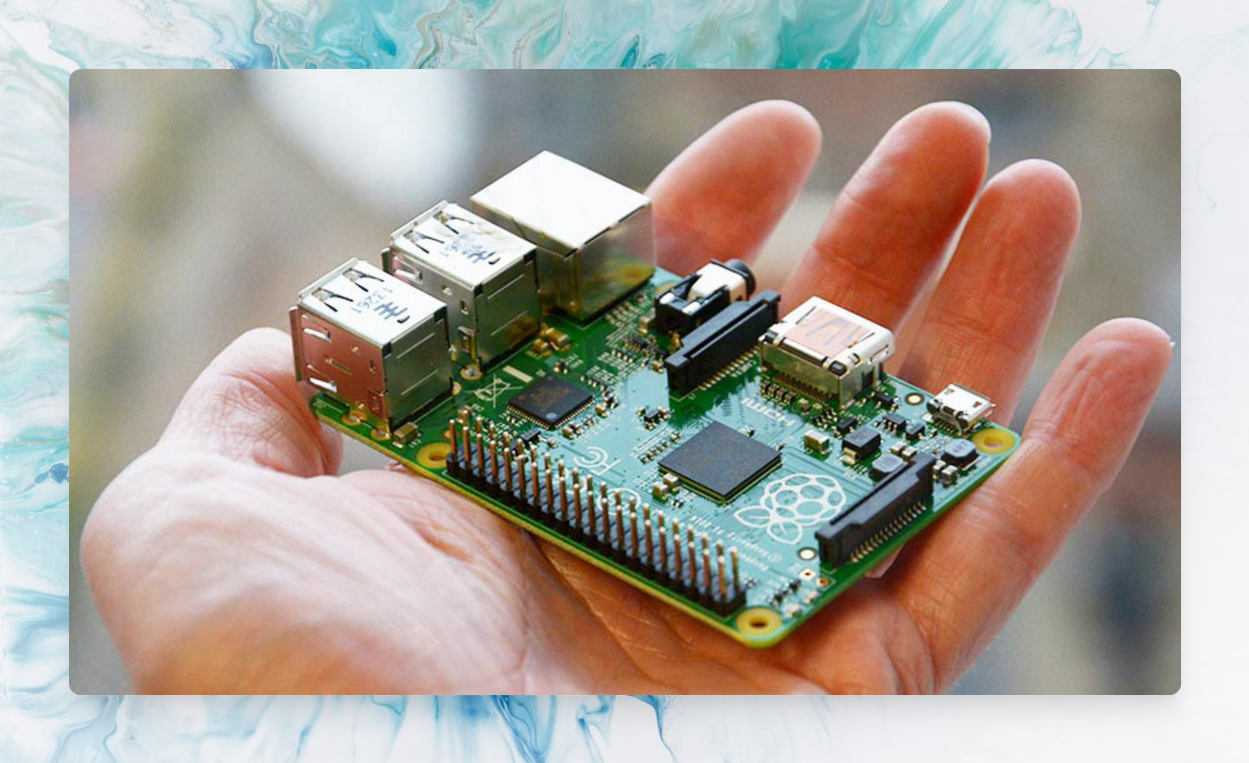
Setting up a Raspberry Pi
-
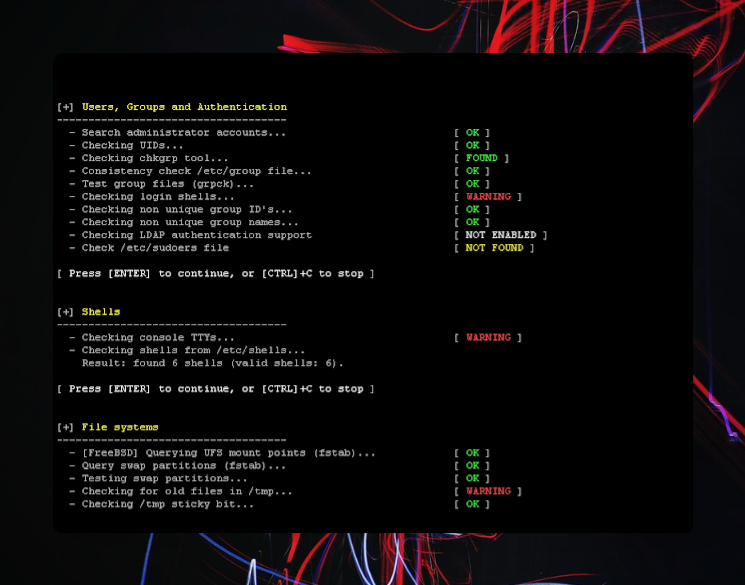
Lynis - Linux Server Auditing
-
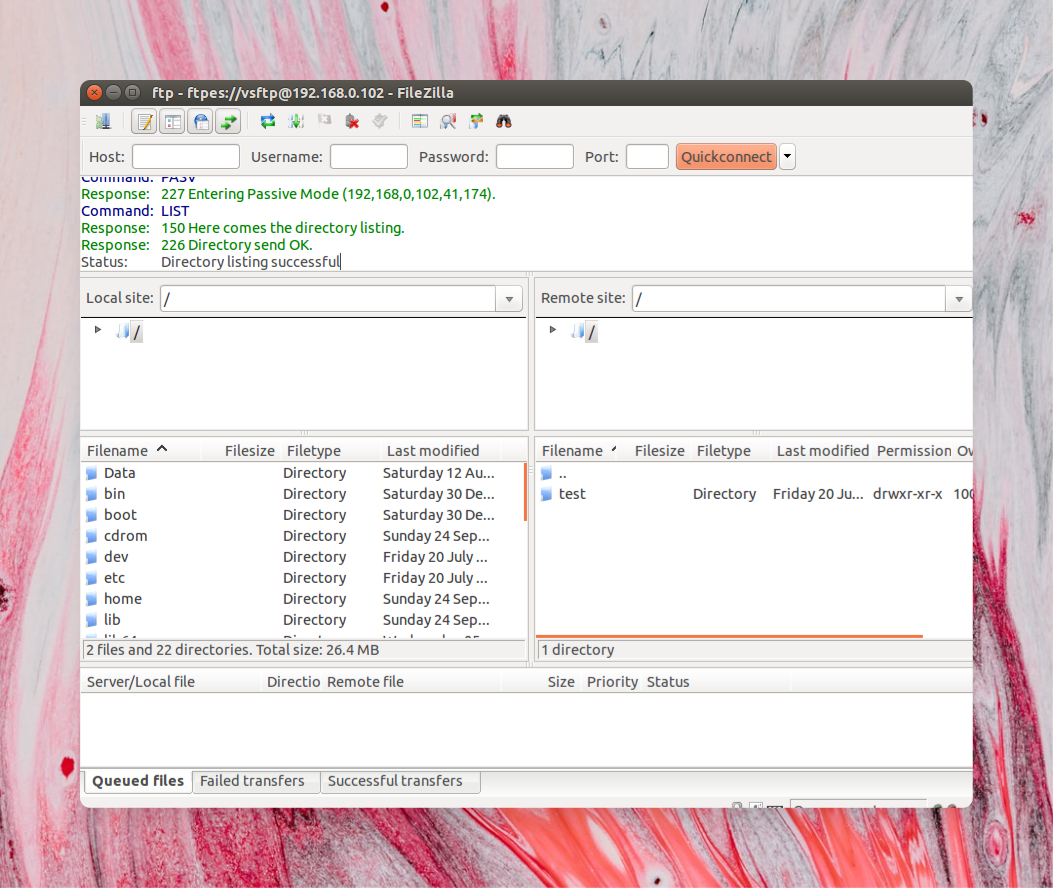
vsftpd Setup
-
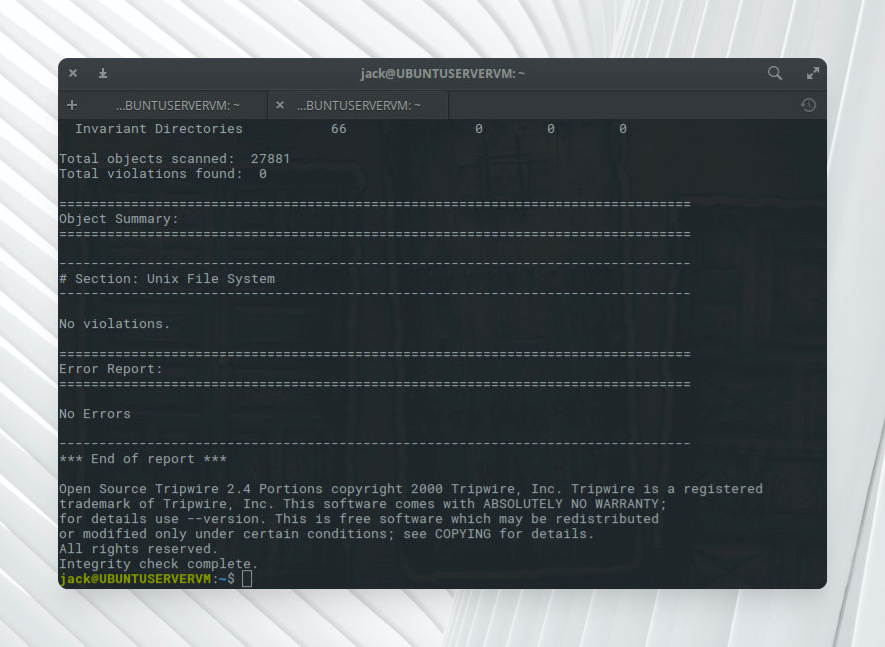
Tripwire